How to Check Radon Levels: What That Means
You can check radon levels in your home using a DIY test kit or by hiring a professional. Radon is a naturally occurring radioactive gas that can seep into homes from the ground. Testing is the only way to know if your home has elevated levels.
Understanding your home’s radon level is important for your health. High radon exposure is linked to an increased risk of lung cancer. Fortunately, testing is relatively simple and affordable. We found that most home test kits are easy to use.
- Radon is a gas you can’t see, smell, or taste.
- Testing is the only way to know your home’s levels.
- DIY kits and professional testing are common methods.
- High levels can increase lung cancer risk.
- Testing is an important step for home safety.
Let’s walk through exactly how to check your home’s radon levels and what those results really mean for you and your family.
“`htmlGetting a Read on Your Home’s Radon Exposure
Radon is a silent invader. You can’t see, smell, or taste it. That’s why testing your home is the only reliable way to know if you’re breathing in unsafe levels. The good news is that checking for radon is not a difficult or expensive task. You have a couple of main paths to go down.
We’ve found that most homeowners can tackle this themselves with a simple kit. Others prefer the peace of mind that comes with hiring a professional. Both methods will give you the information you need to protect your family.
DIY Radon Testing: Your Home, Your Rules
Using a do-it-yourself radon test kit is a popular choice. It’s often the most affordable option. These kits are designed for easy use by anyone. You can buy them online or at many hardware stores. The process usually involves placing a device in your home for a specific period.
Types of DIY Test Kits
There are a few common types of DIY radon test kits. Each has its own way of detecting radon. Understanding the difference can help you pick the right one for your needs.
Charcoal Canister Kits
These kits contain a small container filled with activated charcoal. You place the canister in a main living area for about 2-7 days. The charcoal absorbs radon gas from the air. After the testing period, you seal the canister and mail it to a lab for analysis. The lab will send you the results. This is a common and relatively quick method.
Alpha Track Detectors
Alpha track detectors are another type of DIY option. They use a special plastic film that records the alpha particles released by radon decay. You typically leave these detectors in place for 90 days or longer. This longer period gives a more accurate reading of your home’s average radon levels throughout the year. Once done, you mail the detector to a lab for analysis.
Electret Ion Chamber Detectors
These detectors use an electrically charged disk. Radon gas entering the detector causes the disk to lose some of its charge. The amount of charge lost is measured to determine the radon concentration. These also often require mailing to a lab for results. They can provide readings over periods ranging from a few days to several months.
How to Use a DIY Kit Effectively
Regardless of the kit type, proper placement is key. For the most accurate reading, follow the manufacturer’s instructions precisely. Generally, you’ll want to place the test kit in the lowest lived-in level of your home. This is usually the basement if it’s finished and regularly used. If not, use the main floor.
Keep the test kit away from drafts, vents, or direct sunlight. Do not place it near windows or doors that are frequently opened. The goal is to measure the radon concentration in still air over time. For most kits, you’ll need to conduct the test during the heating season. This is when windows are typically closed, and radon levels are often higher.
When the testing period is complete, seal the kit as instructed. Mail it to the designated laboratory promptly. Lab fees are usually included in the purchase price, but check this before buying. Your results should arrive within a few weeks.
Professional Radon Testing: Expert Assessment
If you prefer not to test yourself, or if you’re buying or selling a home, professional radon testing is a great option. A qualified radon measurement professional has specialized equipment and training. They can perform tests that often meet specific real estate transaction standards.
Why Hire a Professional?
Professionals use calibrated, high-tech equipment. This can include continuous radon monitors that provide hourly readings. These devices offer a more detailed picture of radon fluctuations. They are often required for real estate transactions. A professional also ensures the test is conducted according to strict protocols.
What to Expect from a Professional Test
A professional will typically place their testing equipment in your home for at least 48 hours. They will choose the appropriate location, often similar to DIY guidelines—the lowest lived-in level. After the testing period, they will analyze the data. You’ll receive a detailed report of your home’s radon levels. Many professionals can also advise on mitigation if levels are high.
Understanding Your Radon Test Results
Once you have your results, it’s time to understand what they mean. The concentration of radon is measured in picocuries per liter of air (pCi/L). This unit tells you how much radioactive decay is happening in that volume of air.
What is Considered a “Safe” Level?
There isn’t a level of radon that is completely risk-free. However, regulatory bodies provide action levels. The U.S. Environmental Protection Agency (EPA) suggests that if your home’s radon level is 4 pCi/L or higher, you should consider taking action to reduce it. Levels between 2 pCi/L and 4 pCi/L are also a concern.
Many experts recommend fixing your home if the radon level is 2 pCi/L or higher. Think of it like this: even a small amount of something harmful can cause problems over time. The goal is to get your levels as low as reasonably achievable.
What Do the Results Mean for Your Health?
Radon is the second leading cause of lung cancer in the United States, after smoking. It’s the leading cause of lung cancer for non-smokers (CDC). When you breathe in air containing radon, the radioactive particles can damage the cells in your lungs. Over time, this damage can lead to lung cancer.
It’s important to remember that radon risk is cumulative. The longer you are exposed to high levels, the higher your risk. This is why testing and mitigation are so important. Even if you don’t smoke, high radon exposure increases your risk. If you do smoke, the risk is significantly multiplied. We found that many people are unaware of this connection.
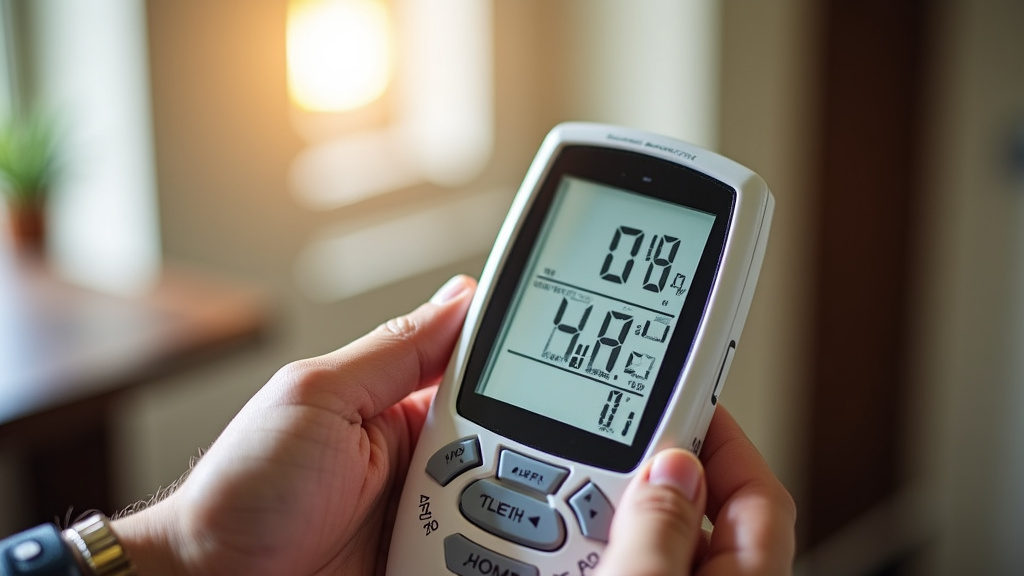
Radon Levels By Location and Season
Radon levels can vary. They can be different from one home to another, even on the same street. Several factors influence these levels.
Geological Factors
Radon is produced from the natural decay of uranium in soil and rock. Areas with higher concentrations of uranium will naturally have higher levels of radon. Some regions of the country have more uranium in the ground than others. This is why certain states or even counties might have more homes testing high for radon.
Seasonal Fluctuations
Radon levels can also change throughout the year. They tend to be higher during the colder months. This is because people tend to keep windows and doors closed. This traps radon gas inside the home. Changes in barometric pressure can also affect how much radon seeps into your home. We found that conducting a long-term test helps account for these seasonal changes.
Next Steps After Testing: What to Do
So, you’ve tested your home. What happens next? The answer depends entirely on your results.
If Your Levels Are Low (Below 2 pCi/L)
If your test results are below 2 pCi/L, that’s great news. You likely don’t need to take immediate action. However, radon is a persistent gas. Many experts recommend re-testing your home every 2-5 years. This ensures that levels haven’t changed over time. Keeping your home well-ventilated can also help. Good airflow can help disperse any radon that might enter.
If Your Levels Are Moderate (2-4 pCi/L)
If your levels fall in this range, it’s a good time to consider mitigation. While not an immediate emergency, it’s wise to plan for it. You can research radon mitigation systems. These systems are designed to vent radon from your home. You can get quotes from qualified radon mitigation contractors. It’s also a good idea to re-test after a year or two.
If Your Levels Are High (Above 4 pCi/L)
If your results are 4 pCi/L or higher, you should take action promptly. The EPA recommends mitigation. A qualified radon mitigation professional can install a system. These systems, often called sub-slab depressurization systems, are very effective. They vent radon gas from beneath your foundation before it can enter your home. The cost of mitigation is an investment in your family’s health.
Choosing a Qualified Professional
If you decide to hire someone for testing or mitigation, look for credentials. Certification from organizations like NRPP (National Radon Proficiency Program) or NRSB (National Radon Safety Board) is a good sign. Always ask for references and get multiple quotes.
Checklist: Your Radon Testing Plan
- Decide if you’ll DIY or hire a professional.
- Purchase a reputable radon test kit or find a certified professional.
- Place the test kit in the lowest lived-in level of your home.
- Follow testing instructions precisely.
- Allow the required testing time to pass.
- Mail your test kit to the lab or review your professional’s report.
Conclusion
Checking your home’s radon levels is a vital step in safeguarding your family’s health. You have simple DIY kits or professional services available to get accurate readings. Remember, radon is a silent threat, but testing is your best defense. Don’t let uncertainty linger; take control of your home’s air quality today.
Your next step is clear: order a test kit or contact a certified professional. Protecting your home from radon is a manageable process that offers peace of mind for years to come.
Frequently Asked Questions
How often should I test my home for radon?
It’s wise to re-test your home for radon every 2 to 5 years, even if your initial levels were low. Factors like new construction nearby or changes in your home’s ventilation can affect radon levels over time.
Can radon levels change throughout the day?
Yes, radon levels can fluctuate. They are often higher during colder months when windows are closed and can also be influenced by changes in barometric pressure. Long-term tests help capture these variations for a more accurate picture.
What’s the difference between a DIY kit and a professional test?
DIY kits are more affordable and convenient for homeowners. Professional testing uses calibrated equipment and ensures strict adherence to testing protocols, which is often required for real estate transactions and can provide a more detailed analysis.
Does radon only affect older homes?
No, radon can affect any home, regardless of its age, size, or foundation type. It seeps into homes from the ground, so even brand-new houses can have elevated radon levels if they are built in areas with high radon potential.
If I fix my radon problem, do I need to test again?
Yes, after any radon mitigation system is installed, it’s essential to perform follow-up testing. This confirms that the system is effectively reducing radon levels to a safe range and operating correctly.