
How to Test for Radon: The Simple Answer
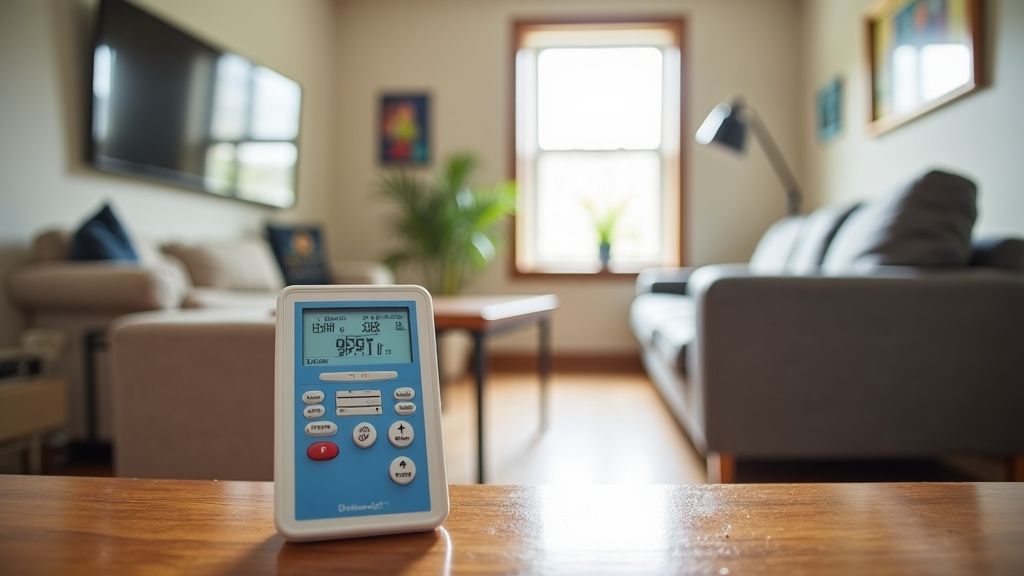
Testing for radon in your home is a straightforward process you can do yourself. The simplest answer is to buy a radon test kit online or at a hardware store. These kits are designed for homeowners and require minimal effort to use and send for analysis. You don’t need special tools or training.
Radon is a naturally occurring radioactive gas that can seep into homes from the ground. It’s invisible and odorless, which is why testing is so important for your family’s health. Many experts recommend testing every few years, especially if you’ve made changes to your home. Proper testing helps you understand your home’s radon levels.
- Radon is a colorless, odorless gas.
- Testing is simple with a kit.
- You can buy kits online or in stores.
- Consider testing every 2-5 years.
- A kit helps protect your family’s long-term health.
Let’s get this done! We’ll walk through exactly how to test for radon yourself, step by step.
“`htmlYour Guide to Testing for Radon at Home
Testing for radon in your home is simpler than you might think. The most common and recommended method involves using a radon test kit. These kits are readily available and designed for homeowners, meaning you don’t need to be a scientist to use them effectively. Think of it like taking your own temperature when you’re not feeling well – you get the essential information you need to decide what to do next.
Radon is a radioactive gas that comes from the natural breakdown of uranium in soil, rock, and water. It can enter your home through cracks in the foundation, walls, and other openings. Because it’s invisible and has no smell, testing is the only way to know if your home has elevated radon levels.
Understanding Radon Test Kits
Radon test kits are your best friend when it comes to checking your home’s air quality for this gas. They are designed to be easy to use, and most importantly, they provide accurate results when used according to the instructions.
Types of Radon Test Kits
You’ll primarily encounter two main types of radon test kits:
Short-Term Test Kits
These kits measure radon levels over a shorter period, typically 2 to 7 days. They are great for getting a quick snapshot of your home’s radon concentration. However, radon levels can fluctuate daily and seasonally, so a short-term test might not reflect the average yearly level. If you’re in a hurry to check before a major home purchase or sale, this could be an option, but a long-term test is generally preferred for a more reliable picture.
Long-Term Test Kits
Long-term kits, as the name suggests, are designed to measure radon levels over a longer duration, usually 90 days or more. These kits are considered more accurate because they capture a wider range of radon fluctuations, giving you a better understanding of your home’s average radon exposure. Many health organizations, including the Environmental Protection Agency (EPA), recommend using a long-term test for the most reliable results.
Where to Get Your Radon Test Kit
Finding a radon test kit is quite straightforward. You can usually purchase them from:
- Online retailers: Major online shopping platforms carry a variety of radon test kits.
- Hardware stores: Many local hardware and home improvement stores stock these kits.
- Specialty radon mitigation companies: While they often focus on mitigation, some may also sell testing kits.
When you buy a kit, make sure it includes the cost of laboratory analysis. Some kits require you to mail a sample to a lab, and the lab fee is often bundled into the purchase price. Always check the packaging to be sure.
How to Use Your Radon Test Kit: A Step-by-Step Guide
Using a radon test kit is designed to be simple. Just follow the instructions that come with your specific kit carefully. Here’s a general idea of what to expect:
Step 1: Choose the Right Location
Placement is key for an accurate reading. You should place the test kit in the lowest lived-in level of your home. This is usually the basement or a crawl space if it’s used regularly. If you only use your basement for storage, then place the test kit in the lowest level where you spend a significant amount of time, such as a main living area.
Important Placement Rules
Follow these guidelines for the best results:
- Avoid high-traffic areas: Don’t put the test in a kitchen, bathroom, or laundry room. These areas have open windows and doors that can affect the readings.
- Keep it away from drafts: Ensure the test isn’t near heating vents, fans, or open windows and doors.
- Maintain a stable environment: The area should be similar to where you normally live.
- Elevate if needed: Some instructions may ask you to place the device a few feet off the floor.
Step 2: Start the Test
Once you’ve picked the perfect spot, it’s time to begin. This usually involves removing a seal or activating the device according to the kit’s instructions. Note the start date and time. You’ll need this information for the lab analysis.
Step 3: Let it Work Its Magic
Now, let the test do its job. For short-term kits, this means leaving it undisturbed for the specified number of days (2-7 days). For long-term kits, it means leaving it for at least 90 days. Remember, do not move or tamper with the test kit during this period. Your goal is to get a continuous measurement of the radon levels in that specific location.
Step 4: Record and Seal
Before you seal the test kit for mailing, there will be a section to record the end date and time. Carefully fill this out. Then, reseal the device in its protective packaging exactly as the instructions indicate.
Step 5: Mail Your Sample
Most kits require you to mail the activated test device to a certified laboratory for analysis. The sooner you mail it after the testing period, the better. Look for a postage-paid mailer or follow the shipping instructions provided. It’s a good idea to note the tracking number if one is available, so you can follow its journey to the lab.
Step 6: Receive Your Results
The laboratory will analyze your sample and typically send you the results via email or mail within a week or two. This report will tell you the average radon concentration detected during your test period. Many guidelines from health organizations, like the EPA, suggest that any level above 4 picocuries per liter (pCi/L) of air warrants further consideration and potential mitigation.
Interpreting Your Radon Test Results
Getting your results back is the moment of truth. You’ll see a number, usually measured in picocuries per liter (pCi/L). So, what does that number mean for you and your family?
The U.S. Environmental Protection Agency (EPA) has set action levels. If your long-term test results are 4 pCi/L or higher, the EPA recommends taking action to reduce radon levels. Even levels between 2 and 4 pCi/L are a concern, and you may still want to consider mitigation to lower the exposure.
It’s important to remember that radon can be found in any home, regardless of age, location, or foundation type. The only way to know your home’s level is to test it. If your results are high, don’t panic. Radon can be reduced effectively with professional mitigation systems.
When Should You Test for Radon?
Testing for radon isn’t a one-time event for most homeowners. It’s a good idea to retest periodically to ensure your home’s levels remain safe.
Here are some common scenarios when testing is recommended:
- Every 2 to 5 years: Many experts suggest retesting your home every few years, even if previous tests were low. Radon levels can change over time due to changes in the ground beneath your home or home modifications.
- After major home renovations: If you’ve recently completed significant work like adding a new basement, installing a new heating or cooling system, or making other structural changes, radon levels could be affected.
- When buying or selling a home: It’s standard practice for real estate transactions to include a radon test. This helps both buyers and sellers understand potential risks.
- After mitigation: If you’ve had a radon mitigation system installed, regular testing is essential to ensure it’s still functioning correctly and keeping levels low.
Taking these steps helps ensure your home remains a safe haven for your family.
Quick Radon Testing Checklist
Ready to get started? Here’s a quick checklist to guide you through the process:
- Purchase a radon test kit: Choose a long-term kit if possible.
- Select the best location: Place it in the lowest lived-in area, away from drafts.
- Note the start time: Record when you begin the test.
- Leave undisturbed: Let the test run for its specified duration.
- Record the end time and seal: Fill out details and pack it up.
- Mail promptly: Send your sample to the lab for analysis.
Conclusion
You’ve learned that testing for radon in your home is a simple and achievable task. By using a readily available test kit, you can get a clear picture of your home’s air quality. Remember, understanding your radon levels is the first step in protecting your family’s health from this invisible gas. Don’t delay this important home maintenance. Your next step is to purchase a radon test kit and get started today.
Frequently Asked Questions
How accurate are DIY radon test kits?
DIY radon test kits are designed to provide accurate results when used according to the manufacturer’s instructions. Labs that analyze these kits are typically certified to ensure reliable measurements. For the most dependable readings, experts generally recommend using a long-term test kit that measures over 90 days.
Can I test for radon myself without sending it to a lab?
While some kits provide an immediate indication, most professional-grade DIY radon test kits require you to mail a sample to a certified laboratory for accurate analysis. This lab analysis is essential for getting a precise measurement of your home’s radon levels. Always check the kit’s instructions to understand the full process.
What’s the difference between short-term and long-term radon tests?
Short-term tests measure radon for 2 to 7 days, giving you a quick snapshot but can be influenced by daily fluctuations. Long-term tests measure radon over 90 days or more, providing a more reliable average of your home’s radon levels. Health organizations like the EPA recommend long-term tests for the most accurate assessment.
Where is the best place to put a radon test kit in my home?
You should place the radon test kit in the lowest lived-in level of your home, such as a basement or main floor. Keep it away from drafts, windows, doors, and high-traffic areas like kitchens or bathrooms. The goal is to find a quiet, undisturbed spot that reflects normal living conditions.
How often should I retest my home for radon?
It’s a good practice to retest your home for radon every 2 to 5 years to ensure levels remain safe. You should also retest after significant home renovations, like adding a basement or new HVAC system. Testing is also recommended when buying or selling a home, or after radon mitigation work has been completed.