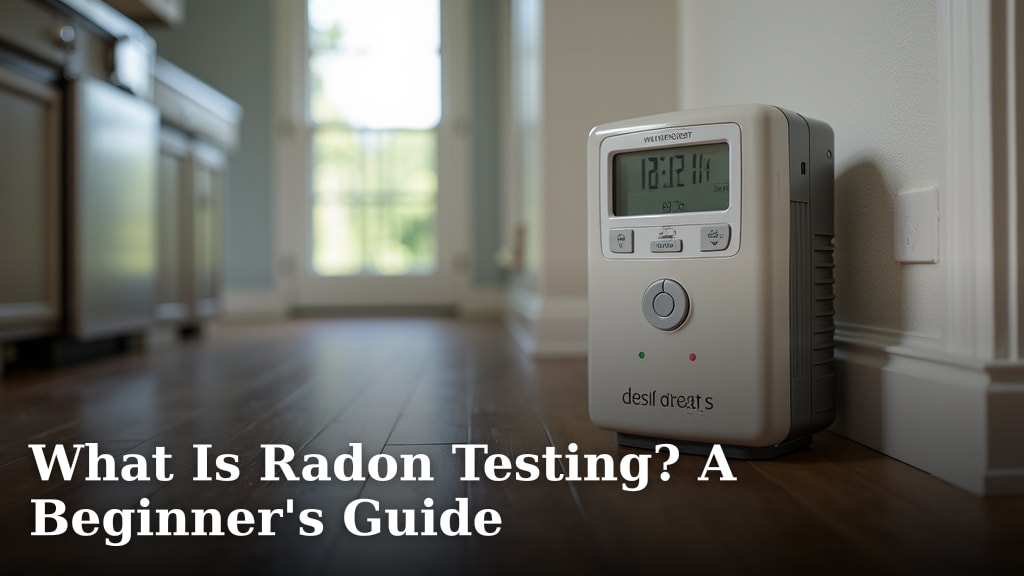
What Is Radon Testing? A Beginner’s Guide
Radon testing is a simple process used to measure the **level of radon gas** in your home. Radon is a naturally occurring radioactive gas that can seep into homes from the ground. Testing helps you understand if your home has a high radon concentration.
Knowing your home’s radon level is important for your family’s health. High radon levels can increase the risk of lung cancer. A basic radon test can detect these levels. Many experts recommend testing every few years.
- Radon is a radioactive gas found naturally.
- It can enter your home from the soil.
- Testing measures the amount of radon in your home.
- High levels can pose a health risk.
- Testing is a simple way to protect your family.
Below, we’ll walk you through what radon testing involves and why it matters for your home.
Understanding Radon Testing: Your Home’s Invisible Gas Check
So, what exactly is radon testing? It’s the method we use to find out if your house has too much of a sneaky, invisible gas called radon. Think of it like a home health check-up, specifically for the air you breathe. Radon doesn’t have a smell or color, so you can’t detect it on your own. That’s where testing comes in. It’s a way to get a clear picture of radon levels in your living space.
Why worry about it? Well, research shows that long-term exposure to high levels of radon gas can increase your risk of lung cancer. This is according to agencies like the Environmental Protection Agency (EPA). It’s something many homeowners aren’t aware of, but it’s easily checked. A simple test can give you peace of mind or alert you to a potential problem.
Why Should You Test Your Home for Radon?
You might be wondering why testing is such a big deal. It’s all about protecting your family’s health. Radon gas is the second leading cause of lung cancer in the United States, and the leading cause for non-smokers (EPA). It forms naturally when uranium in soil, rock, and water breaks down. This radioactive gas can then make its way into your home through cracks and openings in the foundation. Since you can’t see, smell, or taste radon, testing is the only way to know if your home’s levels are safe.
Many experts, including those at the Centers for Disease Control and Prevention (CDC), recommend testing all homes below the third ground floor. This is where radon levels are typically highest. Testing is especially important if you live in an area known to have higher radon concentrations. Even if your neighbors haven’t tested or have low levels, your home could be different. Every house is unique in how it interacts with the ground beneath it.
Radon’s Journey Into Your Home
Imagine the ground beneath your home as a giant, slow-release source of radon. As this naturally occurring radioactive material decays, it releases radon gas. This gas then travels upwards through tiny spaces in the soil. Your home’s foundation, no matter how solid it looks, usually isn’t perfectly sealed. There are small cracks, gaps around pipes, and even porous concrete that radon can seep through. Basements and crawl spaces are common entry points because they are in direct contact with the earth. This naturally occurring radioactive material decays and releases radon gas.
Once inside, radon gas can accumulate, especially in enclosed spaces like your basement or lower levels. If there isn’t enough ventilation, the radon concentration can build up over time. This is why testing is important, not just when you first move in, but also periodically. Over the years, changes in your home’s foundation or the surrounding soil conditions can affect radon levels.
Types of Radon Testing Methods
When it comes to testing your home for radon, you have a few options. The good news is that most methods are quite straightforward and don’t require a professional in every case. Understanding the difference can help you choose the right test for your situation. We’ve found that most people find the short-term tests to be a good starting point.
Short-Term Radon Tests
These tests are designed to give you a quick snapshot of radon levels. They typically run for 2 to 7 days. You can often buy these kits at hardware stores or online. Once you’ve placed the device in your home according to the instructions, you send it to a lab for analysis, or it has an integrated reading.
Short-term tests are great for real estate transactions because they provide rapid results. However, they can be more affected by daily fluctuations in radon concentration due to weather or ventilation. Think of it like checking the temperature on just one day; it tells you something, but maybe not the whole story of the year’s weather. For a more reliable picture, a long-term test is often recommended.
Long-Term Radon Tests
As the name suggests, long-term tests are left in place for a longer period, usually 90 days or more. These tests provide a more accurate representation of your home’s average radon levels throughout the year. This is because they account for seasonal changes and daily variations. Many experts suggest a long-term test is the best way to understand your home’s true radon risk (EPA).
Long-term tests are excellent for getting a stable measurement. They are less susceptible to the quick shifts that can influence short-term results. If you’re not in a rush or are looking for the most definitive reading, a long-term test is a solid choice. You’ll have a better understanding of whether your home consistently has high radon levels.
Electret Ion Chamber (EIC) Detectors
This is a common type of passive detector used for both short-term and long-term testing. An electret is an electrically charged piece of Teflon. When radon gas enters the detector, it ionizes the air. This causes some of the charge to leak off the electret. The more radon there is, the more charge is lost.
After the exposure period, you send the EIC detector to a laboratory. The lab measures the remaining charge on the electret and calculates the average radon concentration during the testing period. It’s a precise method that many professionals use. This is a popular choice because it offers reliable results when performed correctly.
Activated Charcoal (AC) Detectors
Activated charcoal is very effective at absorbing gases, including radon. These detectors contain a small amount of activated charcoal. Radon gas in the air is adsorbed by the charcoal. The amount of radon collected is then measured in a laboratory, often using a device that can detect the radioactivity of the radon itself.
AC detectors are typically used for short-term testing, usually 2 to 7 days. They are sensitive to fluctuations in humidity and temperature, which is why they are not ideal for very long testing periods. However, for a quick assessment, they can be quite useful. We found that these are commonly used when a fast result is needed.
Radon Measurement Units: What Do the Numbers Mean?
You’ll see radon levels measured in picocuries per liter of air, often abbreviated as pCi/L. This unit tells you how much radioactive radon is present in a liter of air. The EPA has set an action level of 4 pCi/L. If your test results are at or above this level, the EPA recommends taking steps to reduce radon concentrations.
It’s important to understand that there is no absolutely safe level of radon. Even levels below 4 pCi/L can pose some risk. However, 4 pCi/L is the point at which the EPA and the Surgeon General recommend mitigation. Think of it as a threshold for taking action to protect your home’s air quality. Levels between 2 and 4 pCi/L are also a cause for concern, and many people choose to mitigate at these levels as well.
How to Conduct a Radon Test: Your Step-by-Step Guide
Taking the initiative to test your home for radon is a smart move. Luckily, the process is usually quite manageable, especially with do-it-yourself kits. We want to make this as clear as possible, so you feel confident in what you’re doing. Here’s a breakdown of what to expect:
1. Choose Your Testing Method and Device
Decide if you need a short-term or long-term test. For a quick check, a short-term kit is fine. For a more accurate, year-round average, a long-term kit is better. You can purchase these kits from hardware stores, home improvement centers, or online retailers. Look for kits that are EPA-approved or listed by the National Radon Safety Board (NRSB). This ensures they meet quality standards.
2. Select the Right Location for Testing
This is a very important step. Place the radon test device in the lowest lived-in level of your home. This usually means the basement or a first-floor family room. Do NOT place it in a kitchen, bathroom, or laundry room. These areas often have more air movement from windows, doors, and exhaust fans. The goal is to measure radon levels where you spend the most time, especially for sleeping.
Keep the test device at least 20 inches above the floor. It should be on a level surface, away from drafts, vents, windows, and exterior doors. You want to avoid anything that could artificially inflate or lower the radon reading. Think of it as giving the device a fair chance to capture the typical air in that space.
3. Follow the Instructions Carefully
Read the instructions that come with your radon test kit thoroughly. Each kit might have slight variations. Make sure you understand the starting and ending dates for the test period. If you’re using a short-term test, ensure you leave it in place for the minimum required time (usually 2-7 days). For long-term tests, aim for at least 90 days.
Keep the area where the test is located closed when possible. This means keeping windows and doors shut, especially during the first 12 hours of a short-term test. You don’t need to seal your house up tight, but avoid excessive ventilation like opening windows for extended periods. This helps get a more accurate reading of typical radon accumulation.
4. Send Your Test to the Lab (If Required)
If your test kit requires laboratory analysis, carefully package it up. Follow the instructions for shipping it to the designated lab. Make sure to include all necessary paperwork, such as your contact information and the start/end dates of the test. Promptly sending your sample helps ensure the integrity of the results.
5. Interpret Your Results and Take Action
Once you receive your radon test results, compare them to the EPA action level of 4 pCi/L. If your levels are below 4 pCi/L, it’s great news! However, many experts still advise considering mitigation if levels are between 2 and 4 pCi/L. If your results are 4 pCi/L or higher, you should consider radon mitigation. This is a process to reduce radon levels in your home.
Don’t panic if you find high levels. Radon mitigation systems are very effective. They can reduce radon concentrations by 50% to over 90% (EPA). The next step would be to contact a qualified radon mitigation professional to discuss your options.
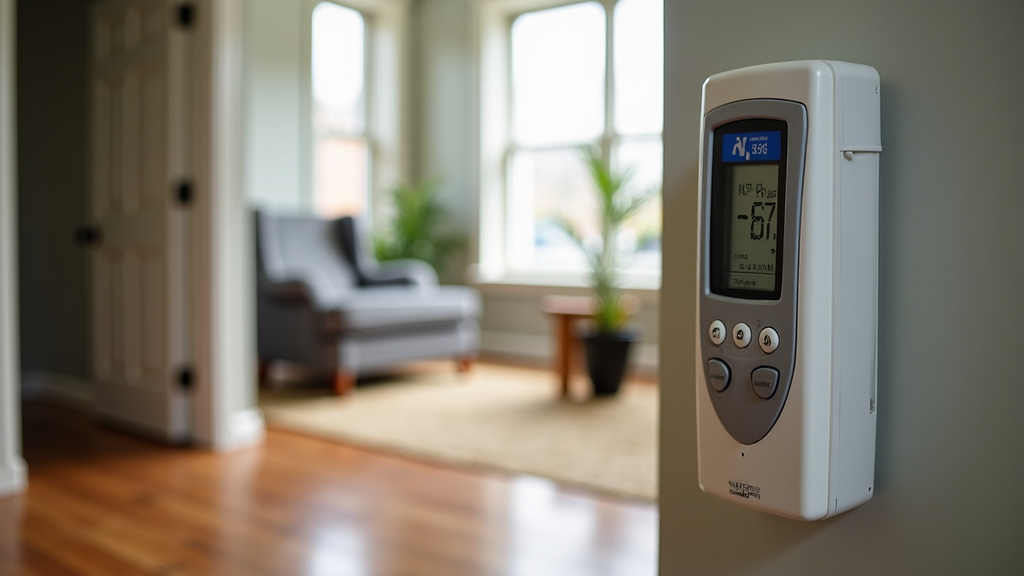
When Should You Retest Your Home?
Radon levels aren’t static. They can change over time. Because of this, it’s a good idea to retest your home periodically. Most experts recommend retesting every 2 to 5 years. This is especially true if you’ve made any changes to your home.
What kind of changes? Things like new construction or major renovations can affect radon levels. If you’ve recently dug a new basement or added a finished space, it’s wise to test. Also, if you’ve installed or significantly altered your home’s heating, ventilation, or air conditioning (HVAC) system, a retest is a good idea. Even changes in the surrounding landscape, like extensive tree removal or construction nearby, could potentially impact radon entry. Retesting ensures your home remains a safe environment.
Radon Testing Checklist: Quick Review
Here’s a quick checklist to help you remember the key steps:
- Choose between a short-term (2-7 days) or long-term (90+ days) test.
- Place the test device in the lowest lived-in level of your home.
- Position the device 20 inches above the floor, away from drafts.
- Keep windows and doors closed as much as possible during testing.
- Follow all instructions for the specific test kit you are using.
- Send your test to the lab promptly if required.
Conclusion
You’ve learned that radon testing is your essential first step in safeguarding your home’s air quality. It’s a straightforward process to detect this invisible, naturally occurring gas. Understanding the different test types, from short-term snapshots to long-term averages, helps you choose the right method. Remember, knowing your home’s radon level is crucial for your family’s health, as high concentrations can increase lung cancer risk. Don’t hesitate if your test reveals levels at or above the EPA’s action level of 4 pCi/L; effective mitigation solutions are readily available. Your next step should be to purchase a radon test kit and get started today.
Frequently Asked Questions
How do I know if I need to test for radon?
It’s recommended that all homes be tested for radon, regardless of your location or age. Radon can enter any home from the ground beneath it. Testing is the only way to know if your home’s levels are safe for your family.
What is the EPA action level for radon?
The EPA’s action level for radon is 4 picocuries per liter of air (pCi/L). If your test results are at or above this level, the EPA recommends taking steps to reduce radon concentrations in your home. Many experts suggest considering mitigation even for levels between 2 and 4 pCi/L.
Can I test for radon myself?
Yes, you can easily test for radon yourself using DIY kits. These kits are widely available and come with clear instructions. For the most accurate results, follow the placement and timing guidelines carefully.
What’s the difference between short-term and long-term radon tests?
Short-term tests give you results in 2-7 days, offering a quick snapshot but can be influenced by daily changes. Long-term tests run for 90 days or more, providing a more accurate average of radon levels throughout the year and accounting for seasonal variations.
What should I do if my radon test results are high?
If your radon test results are 4 pCi/L or higher, you should contact a qualified radon mitigation professional. They can assess your home and install a system to reduce radon levels, often by 50% to over 90%.