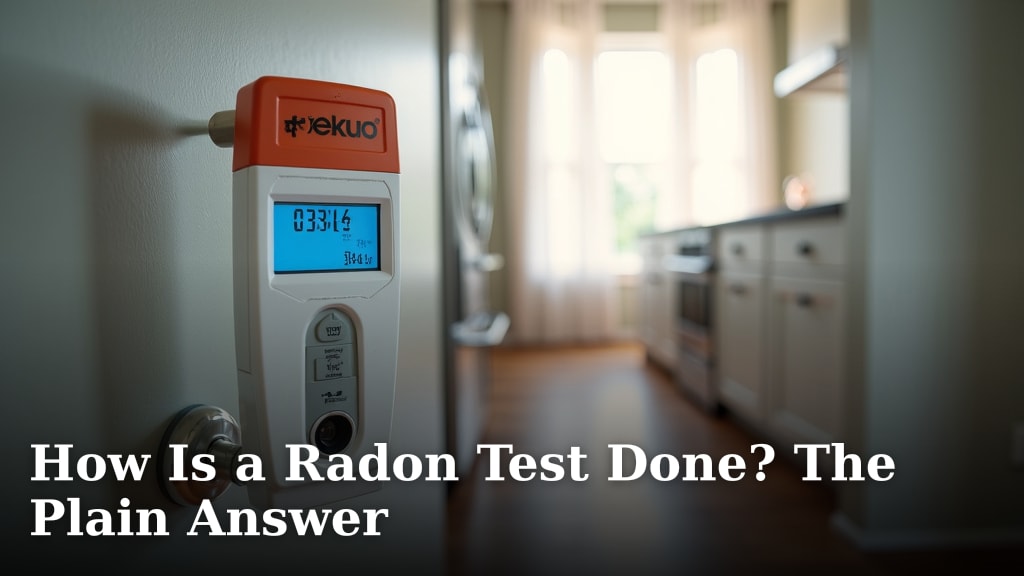
How Is a Radon Test Done? The Plain Answer
A radon test is done using a device that measures the amount of radon gas in your home over a specific period. You can buy a Our guide explains how radon gets into a house from the ground.DIY radon test kit or hire a certified professional. These tests help you understand your home’s radon levels and if mitigation is needed.
Radon is an invisible, odorless gas that can enter homes from the ground. Testing is the only way to know if your home has elevated radon levels. Many homeowners choose to test to protect their family’s health from this natural carcinogen.
- Radon testing measures radon gas levels.
- You can use DIY kits or hire a pro.
- Testing is essential for health protection.
- It helps determine if radon mitigation is needed.
Let’s walk through exactly how a radon test works and what you can expect, whether you do it yourself or hire an expert.
Understanding How Radon Tests Actually Work
So, you’re wondering how exactly a radon test is done? It’s simpler than you might think. Essentially, a radon test is a device that sits quietly in your home, measuring the amount of radon gas present over a set period. Think of it like a tiny detective, sniffing out invisible radon particles. This measurement helps you understand if your home’s radon levels are higher than what’s considered safe by health organizations. You can either pick up a DIY radon test kit from a store or online, or you can hire a certified radon professional to do the job for you. Either way, the goal is the same: to get accurate information about radon in your living space.
Radon itself is a naturally occurring radioactive gas. It’s invisible, it has no smell, and you can’t taste it. It comes from the breakdown of uranium in soil, rock, and water. When this breakdown happens, radon gas is released into the air. Because it’s lighter than air, it can easily drift upwards and find its way into buildings, including your home. The scary part is that it can build up inside, especially in basements and lower levels. Since it’s undetectable by your senses, testing is truly the only way to know if your home has elevated radon levels. Many homeowners choose to test to protect their family’s health from this natural carcinogen.
Your Options for Getting a Radon Test
When it comes to testing your home for radon, you’ve got two main paths you can take. Both have their pros and cons, and the best choice often depends on your comfort level, budget, and how quickly you need results. We’ll break down each option so you can decide what fits you best.
Option 1: The DIY Radon Test Kit
Using a DIY radon test kit is a popular choice for many homeowners. It offers convenience and affordability. You can usually find these kits at hardware stores, home improvement centers, or online retailers. They are designed to be straightforward and easy for anyone to use, with clear instructions provided. The basic idea is that you place the testing device in a specific area of your home for a recommended period. This period is important for getting an accurate reading, as radon levels can fluctuate.
How to Use a DIY Kit
Using a DIY kit typically involves a few key steps. First, you need to choose the right location. Health experts recommend placing the test in the lowest occupied level of your home. This is usually a basement or a crawl space if it’s used regularly. Avoid bathrooms, kitchens, or laundry rooms. You’ll also want to make sure it’s placed away from drafts, open windows, or heating and cooling vents. Keeping the device in the same room for the entire testing period is critical for accurate results.
Next, you’ll follow the instructions for activating the device. Some kits use charcoal canisters, others have small alpha-track detectors, and some are electronic. You’ll need to place it in the chosen location and then leave it undisturbed for a specific amount of time. The typical testing period for most DIY kits ranges from two to seven days. Shorter tests can give you a quick idea, but longer tests provide a more reliable average of radon levels. Some kits require you to send them to a lab for analysis, while others give you an immediate digital reading.
What Happens After the Test?
Once the testing period is complete, you’ll follow the instructions to stop the test and prepare it for analysis. If it’s a lab-based test, you’ll seal the device and mail it back in a pre-paid envelope. The lab will then analyze the sample and send you a report. If you have a digital radon monitor, you’ll see the results directly on the device’s screen. Your report will show the radon concentration in picocuries per liter (pCi/L) or becquerels per cubic meter (Bq/m³), which are the standard units for measuring radon.
The results will indicate if your radon levels are above, below, or at the action level recommended by organizations like the Environmental Protection Agency (EPA). The EPA suggests that if your home’s radon level is 4 pCi/L or higher, you should consider taking action to reduce it. Even levels between 2 and 4 pCi/L might warrant consideration for mitigation. If the results are high, the next step is usually to contact a qualified radon mitigation professional to discuss solutions.
Option 2: Hiring a Certified Professional
Hiring a certified radon professional offers a higher level of assurance and convenience. These individuals are trained and equipped to conduct accurate radon testing and interpret the results. While this option may cost more upfront than a DIY kit, it can be a worthwhile investment for peace of mind and precision.
How a Professional Conducts the Test
When you hire a professional, they will typically use more sophisticated equipment than what’s available in a standard DIY kit. They often use continuous radon monitors (CRMs). These electronic devices measure radon levels 24/7 for a period of 48 hours or more. This extended testing period is often considered the industry standard for real estate transactions because it captures fluctuations in radon levels more effectively than shorter tests.
Professionals are meticulous about placing the testing device in the correct location. They follow strict protocols to ensure the test is conducted under closed-house conditions. This means ensuring that all windows and doors are kept closed except for normal entry and exit, and that fans or air conditioners that vent outside are not used. They will place the CRM in the lowest occupied level of your home, in a central area, away from direct drafts or airflow. They also take great care to ensure the device is not disturbed during the testing period.
Interpreting Professional Results and Next Steps
Upon completion of the testing period, the professional will retrieve the CRM. They can often provide you with an immediate report detailing the average radon concentration over the test duration. Their expertise allows them to interpret these results within the context of national health guidelines. The EPA, for instance, recommends mitigation if levels reach 4 pCi/L or higher (CDC). If the test results indicate elevated radon levels, the professional can also offer advice on potential radon mitigation strategies. Some professionals may even be qualified to perform the mitigation themselves, or they can refer you to trusted specialists.
Key Differences and Considerations
While both DIY kits and professional testing aim to measure radon levels, there are some key differences to consider when making your choice. Understanding these distinctions can help you select the method that best suits your needs.
Accuracy and Reliability
Professional testing, especially with continuous radon monitors (CRMs), is generally considered more reliable. CRMs provide hourly readings and averages over a longer period, capturing diurnal (daily) and seasonal variations in radon levels. This leads to a more accurate representation of your home’s average radon exposure. DIY kits, especially short-term ones, can be more susceptible to fluctuations and external factors if not placed perfectly.
Cost Versus Value
DIY kits are typically much less expensive upfront. You might spend $15 to $50 for a kit that needs to be mailed to a lab. Electronic DIY monitors can cost $100 to $300. Professional testing can range from $100 to $300 or more, depending on your location and the type of test. While DIY is cheaper, the value of professional testing comes from their expertise, calibrated equipment, and often more robust testing protocols, especially if you are buying or selling a home.
Convenience and Time Investment
DIY kits offer maximum convenience. You can purchase them at your local store and start testing on your schedule. The time commitment is primarily setting up the test and then waiting for the results, which might involve mailing it off. Professional testing requires scheduling an appointment, which might mean taking time off work or arranging access for the tester. However, the professional handles all the technical aspects and often provides quicker, more direct interpretation.
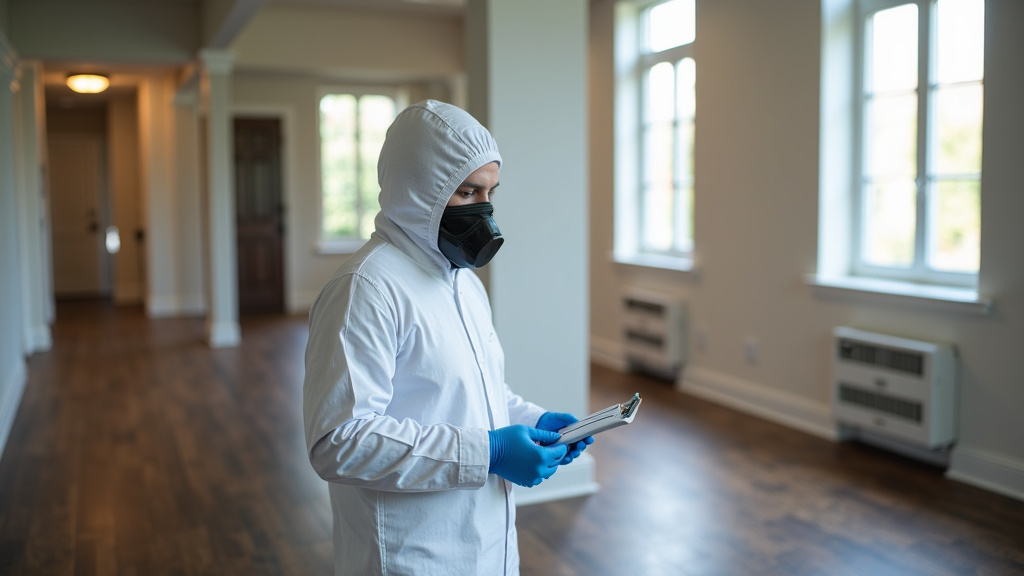
What Happens During a Radon Test? A Visual Summary
To help you visualize the process, here’s a breakdown of what’s happening:
A radon test is essentially about observation and measurement. The device you use, whether it’s a simple canister or an advanced monitor, is designed to detect and quantify the presence of radon gas. Radon gas originates from the natural decay of uranium and thorium in the earth’s soil and rocks. This gas can seep into your home through cracks and openings in the foundation, walls, and floors.
The test device collects radon particles over a specific duration. Different types of tests require different timeframes. Short-term tests, often used for initial screening, might last for 2 to 7 days. These give you a quick snapshot. Long-term tests, which are generally recommended for a more accurate assessment, run for 90 days or longer. Long-term tests provide a better understanding of the year-round average radon levels. The results are then reported in units of picocuries per liter of air (pCi/L) or becquerels per cubic meter (Bq/m³).
| Test Type | Typical Duration | Common Use Case | Pros | Cons |
|---|---|---|---|---|
| Short-Term DIY Kit (e.g., Charcoal Canister) | 2-7 days | Initial screening, quick check | Inexpensive, readily available | Less reliable, susceptible to environmental factors |
| Long-Term DIY Kit (e.g., Alpha-Track) | 90 days – 1 year | More accurate average, year-round assessment | Good for a more definitive result over time | Requires leaving device undisturbed for a long period |
| Continuous Radon Monitor (CRM) – Professional | 48 hours – 1 week | Real estate transactions, professional assessment | Highly accurate, real-time data, reliable | More expensive, requires a professional |
Putting Your Radon Test to Work: What to Do Next
Once you have your radon test results in hand, the next step is to understand what they mean and what actions, if any, you need to take. Don’t let the numbers overwhelm you; we’ll walk through it.
Interpreting Your Radon Test Results
The primary goal of a radon test is to determine if your home’s radon concentration is above the action level. For reference, the EPA action level is 4 pCi/L. Many health organizations, including the World Health Organization (WHO), suggest that any level above 2.7 pCi/L may pose a health risk. So, if your test shows levels at or above 4 pCi/L, it’s recommended that you install a radon mitigation system. Even levels between 2 and 4 pCi/L are considered by some experts to be a level where you might want to consider mitigation, especially if you have children or pregnant individuals in the home.
If your results are below 2 pCi/L, that’s generally considered a good result. However, radon levels can change over time due to changes in your home or the surrounding environment. It’s often a good idea to retest your home every few years, especially if you notice any significant structural changes to your foundation or if you’ve done any major renovations. Think of it as a health check-up for your house.
When to Take Action: Mitigation Basics
If your test results indicate a high radon level, it’s time to think about radon mitigation. This is the process of reducing radon gas concentrations in your home. The most common and effective method is installing a radon mitigation system, often called a sub-slab depressurization system. This system typically involves a fan and a network of pipes that vent radon gas from beneath your home’s foundation to the outside air.
A qualified radon mitigation professional can assess your home and design a system tailored to its specific needs. They will explain the process, the expected reduction in radon levels, and the costs involved. While installing a mitigation system is an investment, it’s a highly effective way to protect your family from the health risks associated with radon exposure. The EPA and other health bodies stress that radon mitigation systems are proven to significantly lower radon levels in homes.
Your Radon Testing Checklist:
- Choose between a DIY kit or a professional test.
- Place the test in the lowest occupied level of your home.
- Ensure the test area stays closed off during testing (closed-house conditions).
- Follow the recommended testing duration (short-term or long-term).
- Mail lab tests promptly or record digital readings.
- Understand your results against EPA action levels (4 pCi/L).
Conclusion
You’ve learned that testing for radon is a straightforward process. Whether you choose a convenient DIY kit or the assured precision of a certified professional, the goal is the same: to understand your home’s radon levels. Knowing these levels is your first step toward safeguarding your family’s health. Radon is invisible, but testing makes it visible. If your results show elevated levels, remember that effective radon mitigation solutions are available. Don’t delay; take the next step and schedule your test today for peace of mind.
Frequently Asked Questions
How long does a radon test take?
Short-term radon tests, often DIY kits, typically run for two to seven days. Professional tests using continuous monitors usually last at least 48 hours. Long-term kits can take 90 days or longer for a more accurate year-round average.
Can I get a reliable result from a DIY radon test kit?
Yes, DIY kits can provide reliable results if used correctly. Following the instructions carefully, especially regarding placement and maintaining closed-house conditions, is key for accuracy. Longer-term DIY tests are generally more reliable than short-term ones.
Where is the best place to put a radon test in my house?
You should place the radon test in the lowest occupied level of your home. This is usually a basement or crawl space that you use regularly. Avoid placing it in kitchens, bathrooms, or laundry rooms.
What is considered a high radon level?
The EPA action level for radon is 4 picocuries per liter (pCi/L). Levels at or above this are recommended for mitigation. Many experts suggest considering mitigation even for levels between 2 and 4 pCi/L.
What happens if my radon test is positive?
If your test results show high radon levels, you should contact a qualified radon mitigation professional. They can assess your home and recommend or install a system to reduce radon gas concentrations to safe levels.