How to Measure Radon: A Homeowner’s Guide
You can easily measure radon in your home using DIY test kits. These kits are readily available online or at local hardware stores. Most kits use activated charcoal or alpha-track detection to measure radon levels over a few days or weeks. It’s a simple process that can protect your family’s health.
Radon is a naturally occurring radioactive gas. It can seep into homes from the ground beneath them. Since it’s colorless and odorless, you can’t detect it on your own. Testing is the only way to know if your home has high radon levels. Many experts agree that understanding your home’s radon status is essential for safety.
- Radon is a silent threat, undetectable without testing.
- DIY test kits are an easy and affordable solution.
- Testing typically takes a few days to a few weeks.
- Knowing your radon level helps protect your family’s health.
Ready to get started? Let’s walk through exactly how to measure radon in your home, step by step.
Understanding and Measuring Radon in Your Home
So, you want to know how to check for radon? It’s a smart move for your family’s health. Radon is a naturally occurring radioactive gas. It comes from the breakdown of uranium in soil, rock, and water. It can enter any home, at any time. Because it’s invisible and has no smell, you can’t detect it yourself. Testing is the only way to know if your home has elevated radon levels. Many health organizations agree that testing is a vital step for home safety (CDC).
Choosing Your Radon Test Method
You have a couple of main options when it comes to testing for radon. Each has its own pros and cons. The goal is to get an accurate reading for your specific home environment. Let’s look at the most common ways homeowners can test.
DIY Short-Term Test Kits
These are the most popular choice for homeowners. They are easy to find and use. You can often buy them online or at hardware stores. A short-term test gives you a quick snapshot of radon levels. It usually runs for 2 to 7 days. This is a good starting point to see if you have a potential problem.
How Short-Term Kits Work
Most DIY short-term kits use a device that absorbs radon gas. This is often an activated charcoal sampler. You place the device in a specific room for the recommended time. Then, you seal it up and mail it to a lab. The lab analyzes the charcoal to determine the average radon concentration during the test period. The results are usually sent back to you within a week or two.
Where to Place Your Short-Term Kit
Placement is key for accurate results. The kit should be placed in the lowest lived-in level of your home. This means the basement if you use it regularly, or the first floor if it’s a primary living space. Avoid placing it in bathrooms, kitchens, or laundry rooms. These areas have more air movement, which can skew the results. Keep the kit away from drafts, windows, and doors. The testing area should be closed up as much as possible during the test period.
DIY Long-Term Test Kits
For a more reliable picture of radon levels, a long-term test is recommended. These kits measure radon over a longer period, typically 90 days or more. This gives you an average reading that reflects seasonal changes and daily fluctuations. Long-term tests are considered more accurate because radon levels can vary.
How Long-Term Kits Work
Long-term kits often use a different technology called alpha-track detection. This involves a small detector placed inside a sealed container. The radon gas causes tiny damage tracks on a plastic film inside. The lab counts these tracks to determine the radon level. Like short-term kits, you mail these to a lab for analysis.
Why Long-Term Testing is Important
Radon levels aren’t static. They can change based on weather, soil conditions, and even how much you use your home’s ventilation systems. A short-term test might catch a day with lower or higher readings. A long-term test smooths out these variations. It provides a more representative average radon level for your home. Many experts recommend starting with a long-term test if possible (EPA).
Professional Radon Testing
If you prefer not to do it yourself, you can hire a certified radon professional. They use specialized equipment to measure radon levels. Professional testing can be more expensive than DIY kits. However, it offers convenience and often faster results. A professional will set up the testing equipment and return to collect it. They can also help interpret the results and discuss mitigation options if needed.
Understanding Radon Test Results
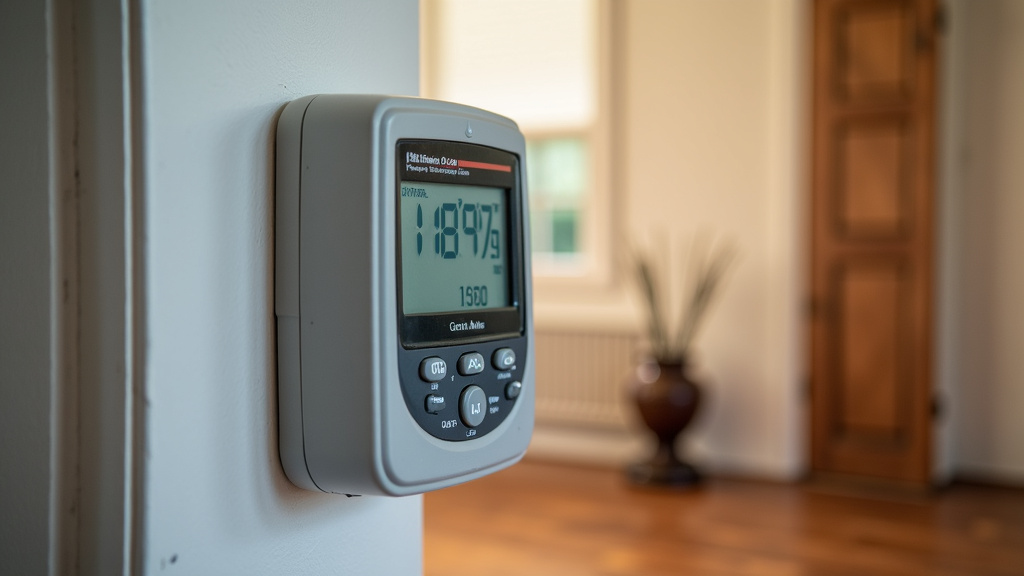
Once you have your test results, what do they mean? Radon levels are measured in picocuries per liter (pCi/L). This unit indicates the amount of radioactivity in the air.
What Are Considered Safe Levels?
There is no “perfectly safe” level of radon. Any amount carries some risk. However, there are action levels set by health authorities. The U.S. Environmental Protection Agency (EPA) recommends taking action to reduce radon levels if they are 4 pCi/L or higher. Many experts also suggest considering mitigation if levels are between 2 and 4 pCi/L. It’s always best to aim for the lowest possible level.
Interpreting Your Results
Your test kit will provide a numerical value. For short-term kits, this is an average over the testing period. For long-term kits, it’s a longer-term average. If your result is below 4 pCi/L, it’s good news! You can continue to monitor periodically. If your result is 4 pCi/L or higher, you should take action. This usually involves radon mitigation, which is a process to reduce radon levels in your home.
Steps to Take After Testing
Testing is the first step, but what comes next? Your actions depend entirely on the radon levels you find.
If Your Levels Are High
If your test indicates elevated radon levels, don’t panic. Radon can be reduced. The most common solution is a radon mitigation system. These systems typically involve a fan and piping installed in your basement or crawl space. They vent the radon gas from beneath your home to the outside air. This prevents it from entering your living space. You can find qualified radon mitigation contractors in your area.
Retesting After Mitigation
After a mitigation system is installed, it’s important to retest your home. This should be done 30 days after the system is operational. A subsequent long-term test is usually recommended to confirm the system is working effectively over time. Mitigation systems require occasional maintenance, so periodic testing is wise.
Checklist: Your Radon Testing Journey
Here’s a quick rundown to help you navigate radon testing:
- Know Your Goal: Decide if you need a quick check (short-term) or a more accurate average (long-term).
- Purchase a Kit: Find a reliable DIY radon test kit or schedule a professional.
- Follow Instructions Carefully: Pay close attention to placement and duration requirements.
- Test in the Right Spot: Use the lowest lived-in level of your home, away from drafts.
- Send for Analysis: Mail your kit to the lab promptly after the testing period.
- Understand Your Results: Compare your pCi/L to EPA action levels (4 pCi/L or higher).
Conclusion
You’ve learned that testing your home for radon is a straightforward process. It’s your best defense against this silent threat. Remember, DIY kits are accessible and easy to use, whether you choose a short-term or long-term option. Understanding your results, especially the EPA’s action level of 4 pCi/L, is key. If your levels are high, radon mitigation systems are effective solutions. Taking these steps can protect your family’s health. Your next step is to decide on your testing method and get started.
Frequently Asked Questions
How often should I test my home for radon?
It’s a good idea to retest your home every 2 to 5 years, especially after significant changes like renovations or if you install a new well. If you have a radon mitigation system, follow the installer’s recommendations for retesting, which is often annually or bi-annually.
Can I use a regular air purifier to remove radon?
Standard air purifiers are not effective at removing radon gas. Radon is a radioactive gas that needs to be vented out of your home. Radon mitigation systems are specifically designed to capture and vent this gas safely outdoors.
Where in my house is the best place to put a radon test kit?
You should place the test kit in the lowest lived-in level of your home. This is typically the basement if it’s regularly occupied, or the first floor if the basement is unfinished. Avoid placing it in kitchens, bathrooms, or laundry rooms due to airflow variations.
What’s the difference between a short-term and a long-term radon test?
A short-term test (2-7 days) gives you a quick snapshot, while a long-term test (90+ days) provides a more accurate average that accounts for daily and seasonal changes. Experts often recommend a long-term test for the most reliable results.
Is it safe to buy a house that has tested high for radon?
Yes, it can be safe if the seller agrees to install a radon mitigation system or provides a credit for you to do so. The key is to ensure the levels are reduced to safe amounts and then retested to confirm the system’s effectiveness.